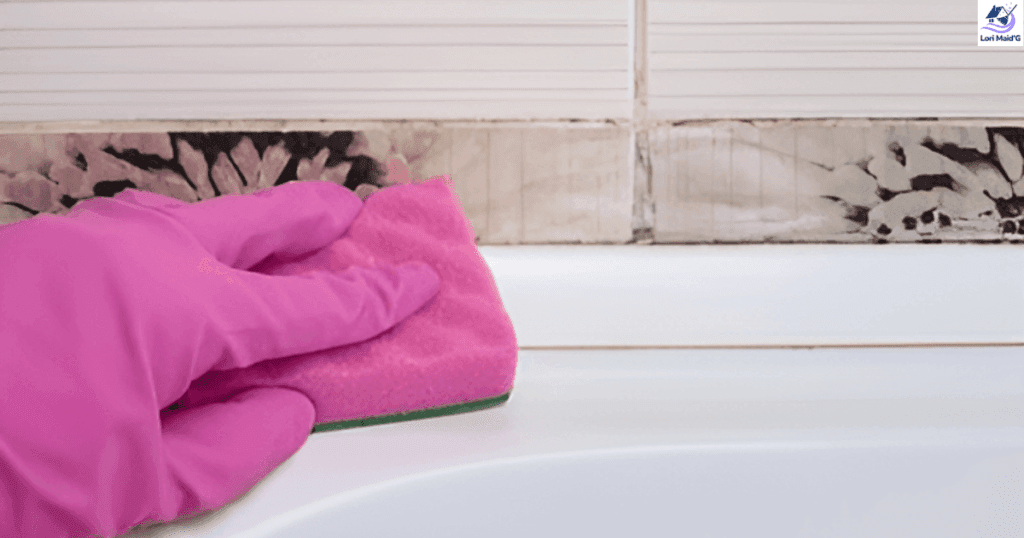
Bathroom cleaning is often overlooked until visible signs like dirty or moldy caulk begin to appear. Caulk in bathrooms, which seals areas around tubs, sinks, and showers, can easily collect grime, mildew, and mold due to constant moisture.
Over time, this can not only look unsightly but also lead to potential damage if mold and mildew are left untreated. This blog will guide you through simple, effective steps to clean bathroom caulk, remove mold, and keep it looking fresh and clean. Let’s get started!
Understanding Bathroom Caulk and Why It Gets Dirty
Bathroom caulk is a type of waterproof sealant applied between tiles, tubs, and walls to prevent water from seeping behind surfaces, where it could lead to mold, mildew, or rot. Since bathrooms are typically humid environments, caulk is constantly exposed to moisture, soap scum, and dirt, making it prone to grime build-up.
Over time, this can cause discoloration, making it appear dirty or even blackened by mold. Cleaning bathroom caulk regularly not only improves its appearance but also ensures a healthy, hygienic bathroom environment.
1. How to Clean Bathroom Caulk

Cleaning the bathroom caulk may seem like a chore, but it doesn’t have to be difficult! With the right tools and a bit of time, you can restore the look of your bathroom’s caulk. Follow these easy steps:
Step 1: Gather Your Supplies
- Mild bleach or vinegar
- Baking soda
- Dish soap
- An old toothbrush or small scrub brush
- A soft cloth or sponge
- Rubber gloves (to protect your hands)
- Ventilation (open a window or turn on a fan)
Step 2: Start with a Simple Solution
If the caulk is only lightly stained, you might only need a gentle solution of dish soap and water. Mix a few drops of dish soap in a small bowl of warm water. Dip the toothbrush or scrub brush into the soapy water, and scrub the caulk in small, circular motions to lift away dirt and grime. Wipe clean with a damp cloth to remove any soap residue.
Step 3: Use Baking Soda and Vinegar for Tough Stains
For tougher stains, especially if the caulk is discolored, try using baking soda and vinegar. Sprinkle a layer of baking soda along the caulk, then spray or pour vinegar over it. This combination creates a foaming reaction that helps lift stains. Let it sit for a few minutes, then scrub with your brush. Rinse with water and dry with a clean cloth.
2. How to Clean Moldy Caulk in the Bathroom

If you notice dark spots or patches along your bathroom caulk, you may have mold growing in the crevices. Mold is common in areas that are frequently damp, and it can sometimes appear even in regularly cleaned bathrooms. Here’s how to tackle it:
Step 1: Choose a Mold-Removing Cleaner
Bleach is effective at killing mold spores, but vinegar is a gentler alternative that works well too. If you prefer bleach, dilute one part bleach with three parts water in a spray bottle. If you choose vinegar, fill a spray bottle with undiluted white vinegar.
Step 2: Spray and Scrub
Spray your chosen solution onto the moldy areas, making sure to cover the caulk thoroughly. Let the cleaner sit for at least 10 minutes to penetrate the mold. Then, use your toothbrush or scrub brush to scrub the caulk, focusing on moldy areas.
Step 3: Rinse and Dry
Once you’ve removed the mold, rinse the area with clean water to remove any residual cleaner. Wipe the caulk dry with a cloth or allow it to air dry. Make sure the area is well-ventilated during this process to help prevent mold from returning.
3. Preventing Future Mold and Stains on Bathroom Caulk

After you’ve invested time in cleaning your bathroom caulk, you’ll want to keep it looking fresh and prevent mold from returning. Here are some tips to keep your caulk clean for the long haul:
Tip 1: Keep the Bathroom Dry
Moisture is the main culprit behind dirty and moldy caulk. After showering or bathing, try to wipe down the walls and caulk to remove excess moisture. Leave the bathroom fan running or open a window to reduce humidity.
Tip 2: Use a Mold-Resistant Caulk
If you’re re-caulking or installing a new caulk, look for mold-resistant products. These contain additives that help prevent mold and mildew growth, making them ideal for high-moisture areas like bathrooms.
Tip 3: Regularly Clean Your Bathroom
Incorporate caulk cleaning into your regular bathroom cleaning routine. This doesn’t have to be intensive every time—just a quick wipe-down with a damp cloth and a gentle cleaner will help keep your caulk looking fresh. Consider hiring professional deep bathroom cleaning services for a deeper clean, especially if the grime or mold buildup has become difficult to manage.
Final Thoughts
Cleaning bathroom caulk might not be the most enjoyable task, but it’s essential for maintaining a clean, mold-free bathroom. Regular cleaning and preventive measures can help keep caulk looking fresh and white, without the need for frequent replacements.
If your caulk is too far gone, or if you’d prefer to have professionals handle it, bathroom cleaning services are a great option. Lori Maid’G offers expert cleaning services in Milwaukee, ensuring that every part of your bathroom, including the caulk, is thoroughly cleaned and cared for.
Whether you choose to clean it yourself or enlist help, keeping bathroom caulk clean will improve both the look and hygiene of your bathroom. Remember, a fresh, clean bathroom starts with a clean caulk!
Check out our other blogs on bathroom cleaning:


